One of my bucket list DIY projects for our 1996-built home was to add wainscoting to the foyer. We had a two-story foyer that was a wonderful architectural feature and I knew it would be even more beautiful with wainscoting. Not having the time, money, or expertise/tools to do wainscoting myself while working and raising our kiddos, I managed to, in about 2000, put in a 300 Williamsburg chair rail with double bead board backer in the hallways and down the stairs. To add more interest, without more cost, I masked and painted taupe, vertical stripes below the chair rail which looked like a wall treatment. We kept that look until I retired (yikes), and after 22 years, the stripes and the railings were really looking tired and worn (like me).


The minute I retired, I wanted to replace the stripes with architecturally interesting wainscoting, paint the whole foyer and the stair railing to get rid of the orange-colored oak.
I decided to keep the chair rail with the double bead backer which is a Colonial Williamsburg element. I was sentimentally attached because my Dad raved about the job I did on that. But I also wanted a more updated, simpler Craftsman board and batten wainscoting rather than raised panels or picture molding panels under the chair rail which would have been more consistent with the chair rail design itself. To join the two looks, I put a flat 1″x 2″ inch cap above the top rail of the wainscoting sitting below the bottom edge of the chair rail backer with no gap. The cap followed the contour of the chair rail all the way around. The cap stood out from the wall about the same distance as the nose of the chair rail which to my eye looked “right”. I was nervous about how the finished project would look because I could not find any examples of what I was thinking of doing on Pinterest or other sites. In the end, I think it was the perfect marriage of the two styles. You can see the combination of elements in the picture below.

The stack up of materials from top to bottom is:
Williamsburg Chair Rail With Double Bead Backer
1″x2″ Cap
1″x4″ Top Rail
1″x4″ Left Style and 1″x5″ Right Style Ripped with Bevel Cut on Right Side to Wrap Corner (finished width 4″)
1″x5″ Bottom Rail Stacked on 1″x4″ Bottom Rail (leveled at the floor)–Note 1″x4″ Rail is hidden behind 1″x5″ Base
1″x5″ Base on Top of Bottom Rails with Separate Base Cap
Door jams were cut to include Plinth Blocks so the baseboard could join up to the Plinth Block with a reveal and not sit proud of the door jam (see picture above).
I cut all the pieces for each run of wainscoting and taped them in place to verify everything was cut properly and no adjustments were needed before nailing (see below). This is also particularly helpful for one last look at spacing and proportionality of the panels relative to the horizontal elements.


One note, when the baseboard could not be terminated at a plinth block, I cut it shorter and wrapped the baseboard cap around the edge as shown in the picture below.

Tools Used–Compound Miter Saw for cross-cuts and angle cuts; Multitool for notching 1″x2″ at door jams, Table Saw with Bevel for rip cuts, Angle Finder, 16-Gauge Paslode Cordless Finish Nailer
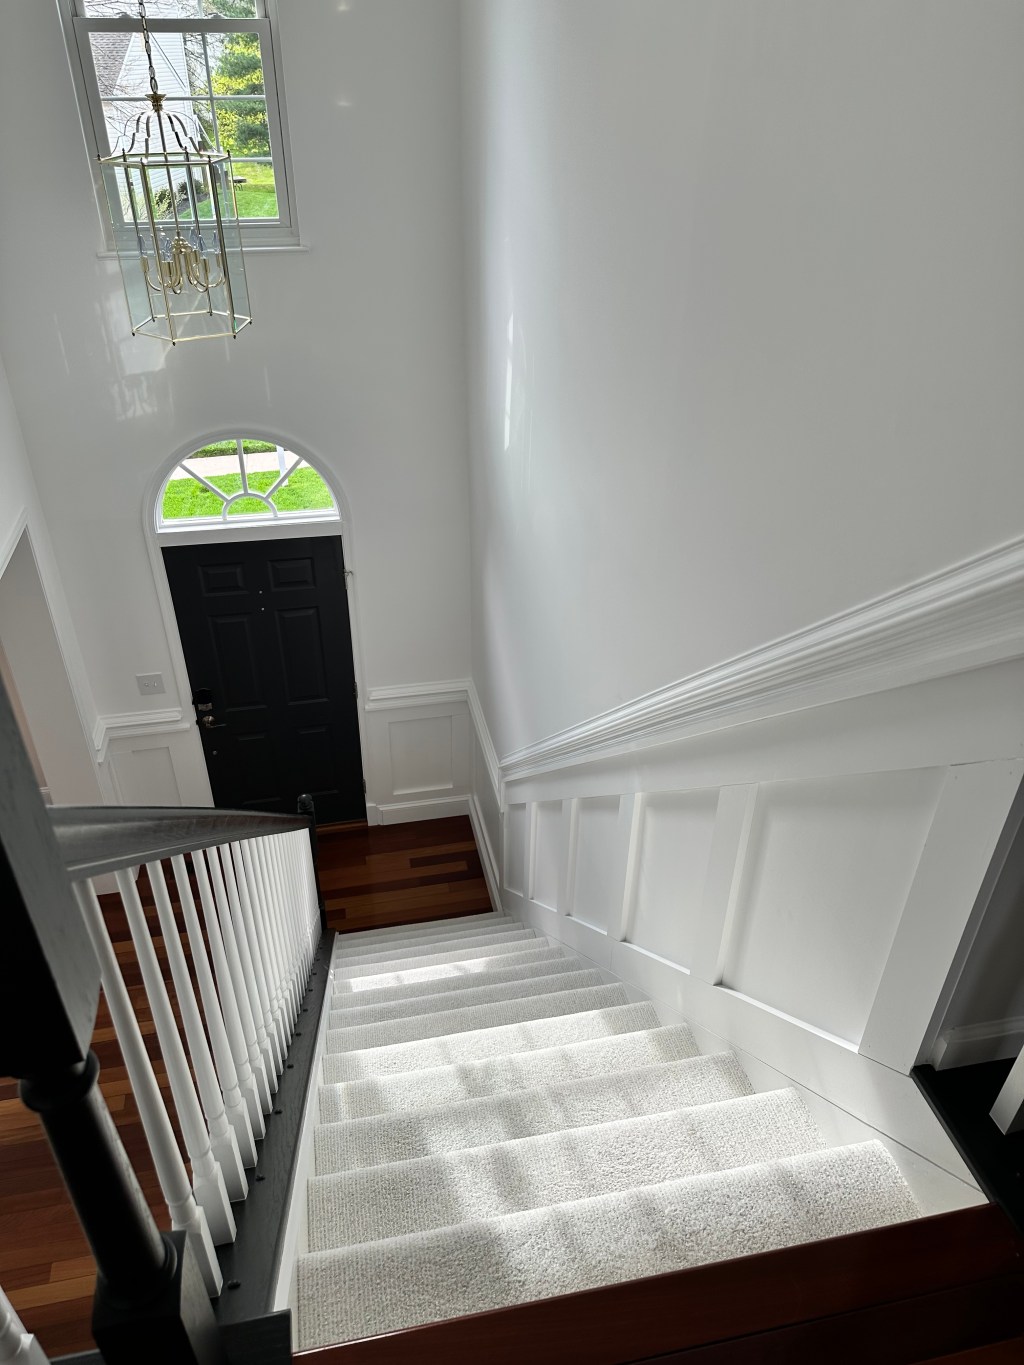
Finished pictures are shown below.


I was very happy with the finished look. The seams between the boards could have used another round of filler, sanding and touch up paint; but the layout and overall look was so good, this was minor.

Leave a comment